Table of Contents
- 1. Identify the plastic and the extent of the damage
- 2. Comparing ways to repair a plastic bin
- 3. How to patch a punctured foam box
- 4. Test the repair and know when to replace the bin
- Frequently asked questions
- What is the simplest way to glue a punctured plastic bin at home?
- How should a large puncture be handled?
- Is a stick-on patch on a plastic bin durable?
- Which glue should be used on a plastic water container?
- How do I weld a punctured plastic drum?
- Can tape be used on a plastic bin?
- Is a cracked plastic bin covered by warranty?
- Contact us about replacement plastic bins
- References
Reviewed and updated by ICD - Week 43/2026
The most durable way to repair a punctured plastic bin is heat welding with a filler rod of the same plastic as the bin (HDPE welded with HDPE, PP with PP). A small crack can be glued, but HDPE and PP have very low surface energy (about 31 mN/m), so superglue or epoxy usually only grips firmly with a primer made for PE/PP plastics, or with an adhesive the manufacturer states will bond PE/PP.
Most industrial plastic bins, drums and solid plastic bins are made from HDPE or PP. They take impact well, but one day a sharp object pierces them, a corner cracks in a fall, or they slowly turn brittle in the sun. This article helps you identify the plastic and the level of damage, choose between glue, heat welding and a patch, test the repair afterwards, and know when to stop repairing and buy a new bin.
1. Identify the plastic and the extent of the damage
To repair correctly, first find out what the bin is made of and whether the damage is a small crack, a hole or a large crack. The plastic type is embossed on the base under the resin identification code: a No. 2 in a triangle is HDPE, No. 5 is PP, No. 3 is PVC, and No. 4 is LDPE.
HDPE is the most common plastic for drums, water containers, waste bins and many industrial bins; it is flexible and impact-resistant but almost refuses ordinary glue. PP appears in corrugated crates, folding crates and food boxes; it is stiffer and tolerates heat better than HDPE, and is just as hard to glue. PVC is found in pipes, tanks and chemical bins made from PVC sheet; it is the easiest to repair, because PVC solvent cement slightly softens the surface and fuses the two edges together. LDPE is soft, used for flexible carboys, lids and film; it can be heat welded, but ordinary glue almost never grips.
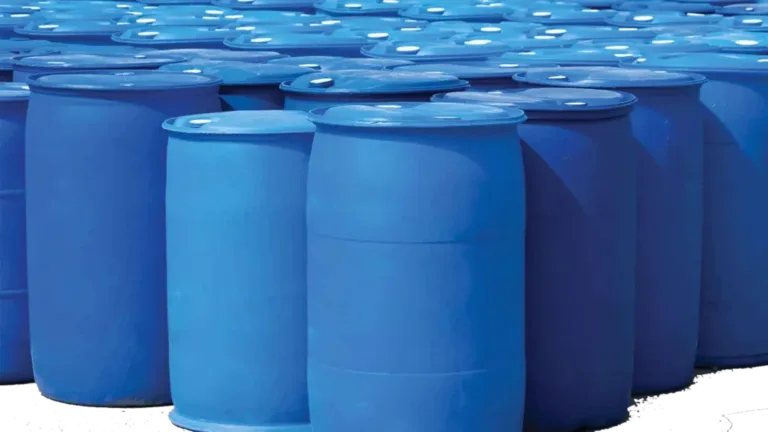
For the extent of damage, I split it into three groups. A small, short crack (under about 10 cm) in the bin wall usually comes from a light knock and can be handled with the right glue. A puncture from a sharp object needs filling with the same plastic, that is, by welding with a rod or welding on a patch. A long crack, several cracks, or a crack at a corner, base or handle, which are load-bearing areas, should be welded by a skilled person or the bin replaced.
2. Comparing ways to repair a plastic bin
There are two main approaches: gluing for cracks and small holes, and heat welding for punctures and large cracks. For HDPE and PP bins, heat welding gives a stronger, watertight joint. Adhesive tape or stick-on patches should be treated only as a temporary leak stop while you wait for a proper repair.
| Method | Strength on HDPE, PP | Suitable for | Limitations |
|---|---|---|---|
| Superglue, epoxy, two-part glue (no surface treatment) | Low | PVC, ABS, PS plastic; non-load-bearing cracks | Peels easily when the bin is knocked or expands and contracts with heat |
| Cyanoacrylate glue with a primer for PE/PP plastic | Fair | Small cracks, tight-fitting joints | Poor against peeling forces; must be bonded while the primer is still active |
| Two-part acrylic adhesive made for PE/PP plastics | Fair to good | Small cracks, attaching a patch | High price, must be dispensed through a mixing gun, short working time |
| Heat welding with a same-plastic rod | High | Punctures, long cracks, water containers | Needs a hot-air gun or plastic welding iron and some skill |
| Adhesive tape, stick-on patches | Temporary | Emergency leak stop | Peels off after long exposure to water, cannot carry load |
Method 1: Glue a small crack
Gluing is the quickest fix for a small crack or hole, but on HDPE and PP it is only durable with the right adhesive system. These two plastics are polyolefins with low surface energy, so glue cannot wet the surface; sanding only cleans and roughens it and does not by itself make the glue grip better. A 2024 study in the Journal of Coatings Technology and Research reports that untreated PE and PP are almost impossible to bond; the usual approach is to treat the surface with flame, plasma or corona, or to brush on a primer before bonding.
There are two practical routes. The first is cyanoacrylate glue (superglue) used with a polyolefin primer. According to the Henkel technical data sheet for the Loctite SF 770 primer, after priming, PP specimens bonded with Loctite 406 reach a block shear strength of about 15 N/mm²; the primer stays active on the surface for about 8 hours, and the manufacturer states it is not recommended for joints that must resist high peel forces.
The second route is a two-part acrylic adhesive made for low-surface-energy plastics. The 3M technical data sheet for DP8005 states that it bonds many kinds of PP and PE without special surface preparation, only a wipe with isopropyl alcohol; HDPE specimens reach an overlap shear strength of about 1,100 psi (about 7.6 MPa). The point to remember is that the working time is only about 2 - 2.5 minutes after mixing and the adhesive needs 8 - 24 hours to cure fully.
To glue a small crack, follow these steps:
- Empty the bin, wash it and dry the area around the crack, then wipe with isopropyl alcohol to remove grease.
- Sand lightly with fine sandpaper, then wipe again to remove plastic dust.
- Brush primer onto the PE/PP if you are using cyanoacrylate glue, and let it dry as the bottle instructs.
- Apply the glue to the crack, press the two edges together and hold until the glue sets.
- Leave the bin undisturbed for at least 24 hours (or the full cure time on the adhesive) before filling it with water to test.
Method 2: Heat welding with a same-plastic rod
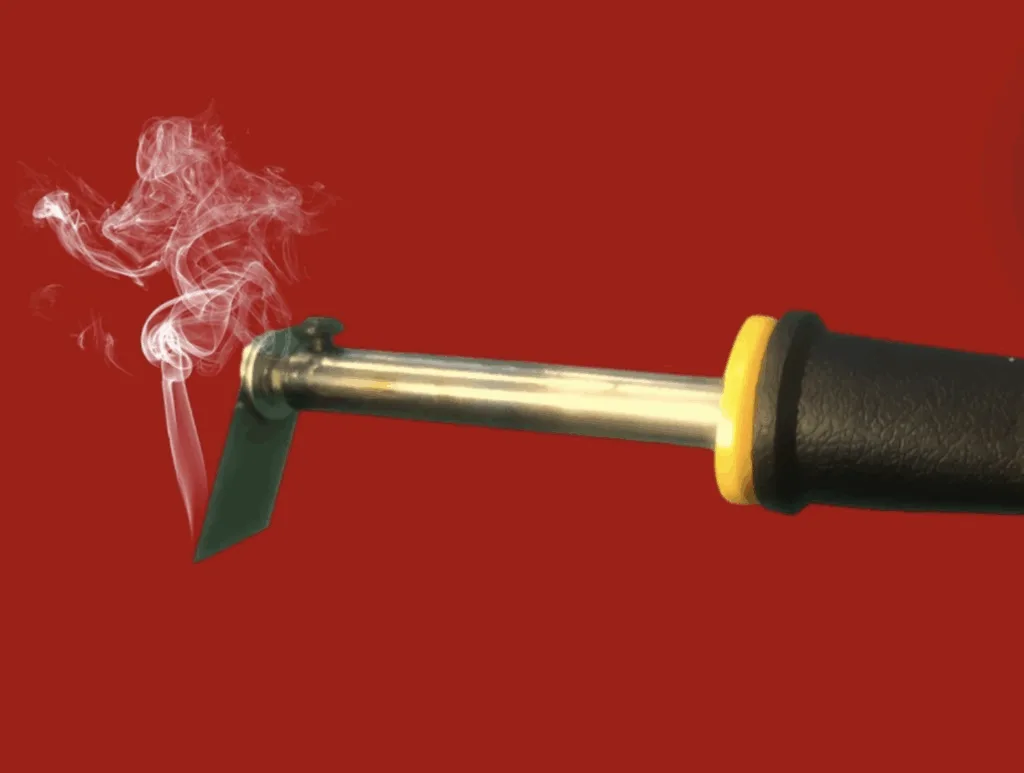
Heat welding is the most durable method for punctures and long cracks, because the rod and the bin wall both soften and fuse into one mass of plastic, independent of how well glue grips. TWI (UK) stresses that the rod and the workpiece must be the same plastic, the same grade; rods are typically 3 - 4 mm in diameter, and the welding temperature is usually set about 80 - 100 °C above the melting point of the plastic.
Tools are a hot-air welding gun (or a flat-tip plastic welding iron), an HDPE or PP rod matching the bin, a scraper or utility knife, and sandpaper. For a hot-air gun, the parameter table in the German Welding Society guideline DVS 2207-3 gives a hot-air temperature of about 300 - 320 °C for HDPE and 305 - 315 °C for PP when hand-welding with a rod. This is the temperature measured at the nozzle, not the temperature displayed on every make of gun, so test on a scrap piece of plastic first.
- Clean the area to be welded and scrape off the oxidised surface layer of plastic around the crack.
- Drill a small hole at each end of the crack so it does not run further when heated.
- Cut the crack out into a V-groove so the rod has room to fill.
- Heat the rod and both groove edges at the same time, press the rod into the groove and move at an even pace until it is full.
- Let the weld cool naturally, then grind it flush and test with water.
Three points decide the quality of the weld: a rod of the same plastic as the bin (HDPE does not fuse with PP), just enough heat for both the crack edges and the rod to soften together, and, for thick bin walls, welding on both the inside and the outside. Plastic that smokes, darkens or shows brown spots has been overheated; a rod that only sits on the surface without flowing into the wall is underheated. Do not cool with water, because the plastic shrinks suddenly and tends to develop stress cracks. TWI also notes that this is a manual technique and quality depends heavily on the welder’s skill.
For a hole larger than the rod diameter, cut a patch from sheet of the same plastic, about 2 - 3 cm larger than the hole on each side, bevel the edge and weld the patch’s perimeter to the bin wall. Do not weld a PP patch onto an HDPE bin or the reverse: the two edges will only stick loosely and separate when the bin is knocked.
3. How to patch a punctured foam box
A punctured foam box is patched with a piece of foam larger than the hole and foam adhesive or hot-melt glue; do not use glue with strong solvents because it melts and dents the foam. Cut a piece of foam bigger than the puncture, clean around the hole, apply water-based foam adhesive or hot-melt glue that has cooled slightly, and press until the glue dries. A patched foam box should only be used for dry goods or as a stopgap, because the patch is hard to make fully watertight when holding ice water.
4. Test the repair and know when to replace the bin
A repair passes when you fill the bin with water, leave it overnight and the outside of the repair stays dry; for a bin that carries load, the repair must also not crack again when loaded and stacked as normal. In my experience the place that fails again most often is the corner and the base, because that is where force concentrates when a bin is lifted, dragged or stacked.
| Condition | Repair or replace | Reason |
|---|---|---|
| Small crack in the wall, bin holds dry goods | Repair | A glued or welded joint is good enough and the cost is low |
| Hole in the wall of a bin holding household water or irrigation water | Repair by heat welding | A same-plastic weld stays watertight for the long term |
| Crack at the corner, base or handle of a load-bearing, stacked bin | Replace | This is a load-bearing area and the repair tends to crack again under load |
| Bin holding food or drinking water | Replace | Adhesives and patching materials are not necessarily assessed as safe for contact with food or drinking water |
| Bin holding chemicals, petrol or oil | Replace | A leak is dangerous; chemicals can attack the glued joint |
| Brittle, faded bin with hairline cracks in many places | Replace | The plastic has aged; repair one spot and it will crack in another |
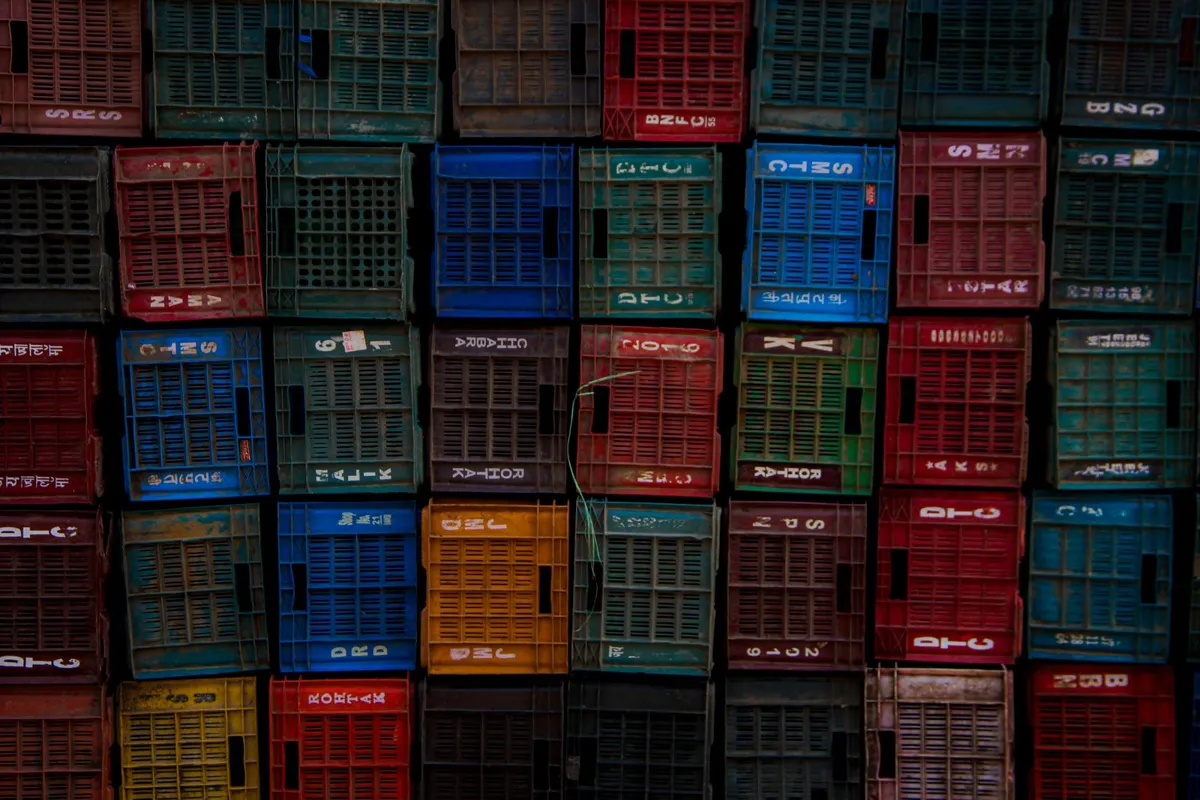
For a drinking-water container, I recommend replacing it. In the United States, the NSF/ANSI/CAN 61 standard places adhesives, jointing materials and waterproofing materials in the group that must be assessed for health effects when in contact with drinking water; a tube of glue bought at a shop almost never carries that information. The same goes for chemical containers: the glued joint can be softened by the chemical inside, and a leak of hazardous chemical is far more costly than the price of a new bin.
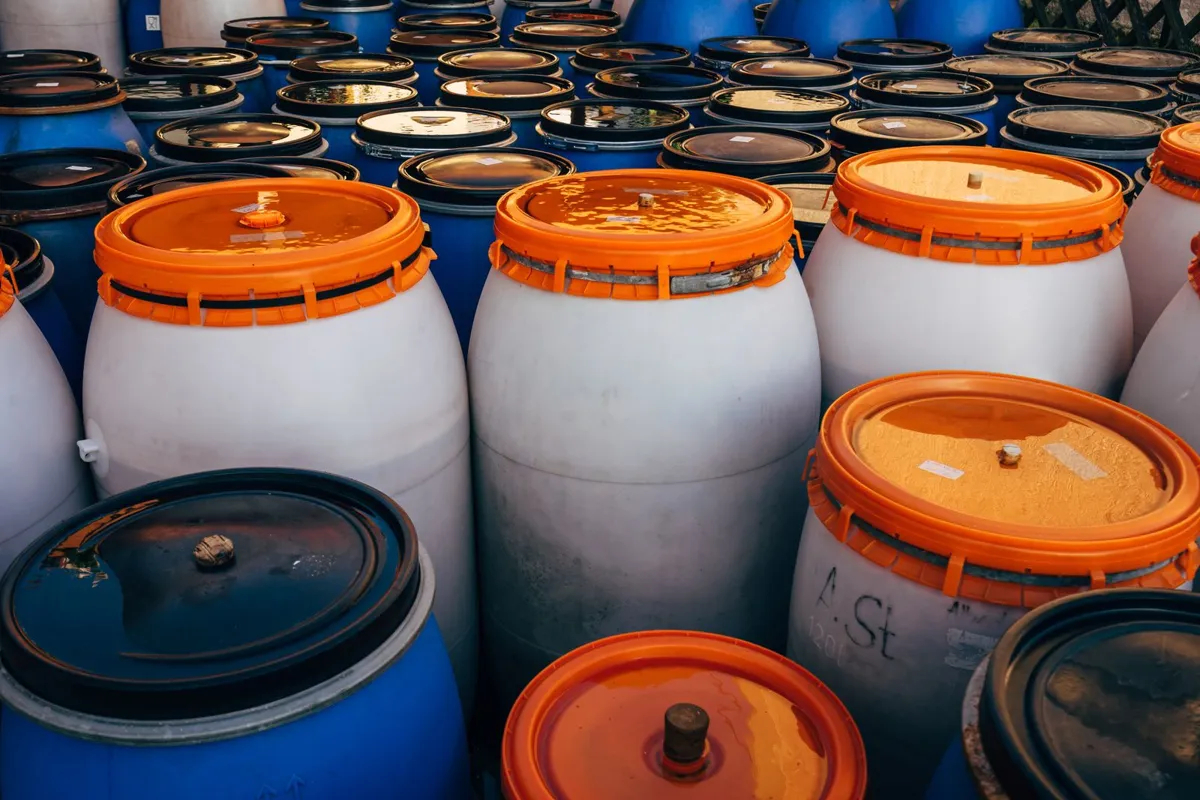
Should I repair a bin that is still under warranty?
A bin still within its warranty period should be reported to the supplier before you repair it yourself. For ICD Vietnam plastic bins and plastic crates, the warranty and repair policy applies for 12 months from the date on the invoice or delivery note, for faults that arise from the manufacturer such as technical or material defects. Damage from drops, hard impact, cracked or broken products, or products that have been repaired without authorisation is not covered by the free warranty, so if you suspect the bin cracked from a material defect, take photos and report it first; do not weld or glue it right away.
Safety when repairing plastic bins
- Wear heat-resistant gloves and safety glasses when using glue or heat welding.
- Work in a well-ventilated place and avoid breathing plastic fumes and primer solvent vapour.
- Test the glue or welding temperature on a scrap of plastic or a hidden edge before the actual repair.
- Only put the bin back into use once the glue has fully cured or the weld has cooled completely, and the water test has passed.
Frequently asked questions
What is the simplest way to glue a punctured plastic bin at home?
For a small crack, clean, wipe with alcohol and sand lightly around the crack, brush on a primer for PE/PP plastic, then apply cyanoacrylate glue (superglue), press and hold until the glue sets and leave for about 24 hours before use. If the bin is PVC, PVC solvent cement is enough.
How should a large puncture be handled?
Cut a patch from sheet of the same plastic as the bin, about 2 - 3 cm larger than the hole on each side, then weld the patch’s perimeter with a same-plastic rod. Hot-melt glue or tape only holds temporarily on HDPE and PP bins.
Is a stick-on patch on a plastic bin durable?
A patch stuck on with tape or ordinary glue is only a temporary repair, suitable when you need to stop a leak quickly. A patch of the same plastic welded around its edge is far more durable and watertight in the long term.
Which glue should be used on a plastic water container?
Water containers are usually made from HDPE or PP, so ordinary glue grips poorly. For irrigation or household water, heat weld with a same-plastic rod; if you use glue, choose one the manufacturer states will bond PE/PP, or glue with a primer. A punctured drinking-water container should be replaced.
How do I weld a punctured plastic drum?
Confirm the drum is HDPE (code 2), empty and wash it, cut the puncture out into a V-groove, use a hot-air gun or welding iron to melt an HDPE rod and fill the groove, weld the inside too if you can reach it, let it cool, then grind it flush and test with water. Do not weld a drum that previously held petrol, oil or flammable solvents.
Can tape be used on a plastic bin?
Waterproof tape should only be used to stop a leak temporarily. On HDPE and PP surfaces ordinary tape grips poorly and peels after long exposure to water, so replace it with welding or the right adhesive as soon as possible.
Is a cracked plastic bin covered by warranty?
ICD Vietnam plastic bins carry a 12-month warranty for manufacturer faults. Cracks from drops, impact, or bins that have been repaired without authorisation are not covered by the free warranty, so contact us before repairing a bin that is still under warranty.
Contact us about replacement plastic bins
ICD VIETNAM INDUSTRIAL MANUFACTURING CO., LTD
If a bin is damaged in a load-bearing area, or holds food or chemicals, send us the dimensions, the type of bin you use and the quantity so we can advise a suitable replacement model; ICD Vietnam plastic bins carry a 12-month warranty.
- Northern Vietnam hotline: 0983 797 186 / 090 345 9186 / 090 5859 186.
- Southern Vietnam: 098 6784 186.
- Email: sales@icdvietnam.com.vn.
- Zalo: Chat with ICD Vietnam on Zalo.
References
- Journal of Coatings Technology and Research (Springer, 2024), Specific, nondestructive, and durable adhesion primer for polyolefins.
- Kinloch, A. J., Adhesion and Adhesives: Science and Technology, Chapman and Hall (1987): critical surface tension of materials.
- Wikipedia, Resin identification code: plastic identification codes 1-7.
- 3M, Technical Data Sheet Scotch-Weld Structural Plastic Adhesive DP8005: bonding PE and PP without special surface treatment, shear strength, working time.
- Henkel, Technical Data Sheet LOCTITE SF 770: primer for polyolefins used with cyanoacrylate adhesives.
- TWI, Hot Gas Welding of Plastics: Part 1, The Basics.
- DVS 2207-3 (annex), Hot-gas string-bead welding: welding parameter reference values.
- NSF, NSF/ANSI 61: Drinking Water System Components, Health Effects.
- ICD Vietnam, Warranty and repair policy: plastic bins and crates carry a 12-month warranty for manufacturer faults.