
Table of Contents
- 1. Why do two nested plastic bins stick so tightly?
- 2. Six ways to separate stuck plastic bins, from gentle to forceful
- Method 1: Soak in hot water so the outer bin expands
- Method 2: Warm the rim of the outer bin with a hair dryer
- Method 3: Create an air path with a plastic ruler
- Method 4: Lubricate with soapy water or cooking oil
- Method 5: Two people twisting while pulling
- Method 6: Turn upside down and press gently on the base of the outer bin
- 3. Bins with wheels, food bins and bins that once held chemicals
- 4. How to stack plastic bins so they do not stick again
- Frequently asked questions
- Why do two stacked plastic bins stick so tightly?
- Should I use a screwdriver or a metal pointed object to pry them apart?
- Why should boiling water not be poured directly onto a plastic bin?
- Does separating stuck plastic bins damage them?
- Can these methods be used for buckets, tubs and plastic boxes that stick together?
- How do I separate stuck plastic bins that once held chemicals?
- Contact us about plastic bins
- References
Reviewed and updated by ICD - Week 43/2026
The quickest way to separate two stuck plastic bins is to slide a thin plastic ruler into the gap between the two walls so air can reach the base, then twist and pull at the same time. If they are still stuck, fill the inner bin with cold water and soak the outer bin in hot water at about 60-70 °C for 5-10 minutes: the outer bin expands, the vacuum force is lost and the two bins separate without cracking the rim.
Two empty plastic bins, buckets or tubs with tapered walls nested inside each other and jammed tight is something that happens in homes and in warehouses alike, from solid plastic bins and waste bins to paint pails. Many people’s first reaction is to pry with a screwdriver or yank hard, and that is exactly when the rim cracks. This article explains why two bins grip each other, six ways to separate them from gentle to forceful, how to handle bins with wheels, food bins and bins that once held chemicals, and how to stack bins so you do not have to separate them again.
1. Why do two nested plastic bins stick so tightly?
Two bins stick mainly because of vacuum force: the air trapped between the two bases cools, its pressure drops, and the atmospheric pressure outside presses the inner bin down. This force only holds when the gap between the two walls is sealed, usually by a thin film of water left on the walls, or because the tapered walls of the two bins press against each other all the way round.
The force is larger than many people think. By Gay-Lussac’s law, at constant volume, gas pressure is proportional to absolute temperature. An air pocket trapped between two bases when stacked at 35 °C that cools to 25 °C loses about 3.2% of its pressure, roughly 3.3 kPa below atmospheric pressure. Over a base 30 cm in diameter, that difference creates a maximum pressing force of about 230 N, equal to a weight of roughly 24 kg pressing on the inner bin. That is why a straight pull is usually useless, while a gap that lets air in makes this force disappear.
You can try it with your own bin size and temperature using the tool below:
The second cause is friction. Nesting bins have tapered walls so they nest deep and save space; when pressed hard, or when many heavy bins are stacked on top, the inner bin’s wall deforms slightly and hugs the outer bin’s wall. With crates and mesh-walled bins (walls with openings), air flows through so there is almost no suction; if this type jams, the cause is friction, and the effective fix is to lubricate and then twist and pull, with no need for hot water.
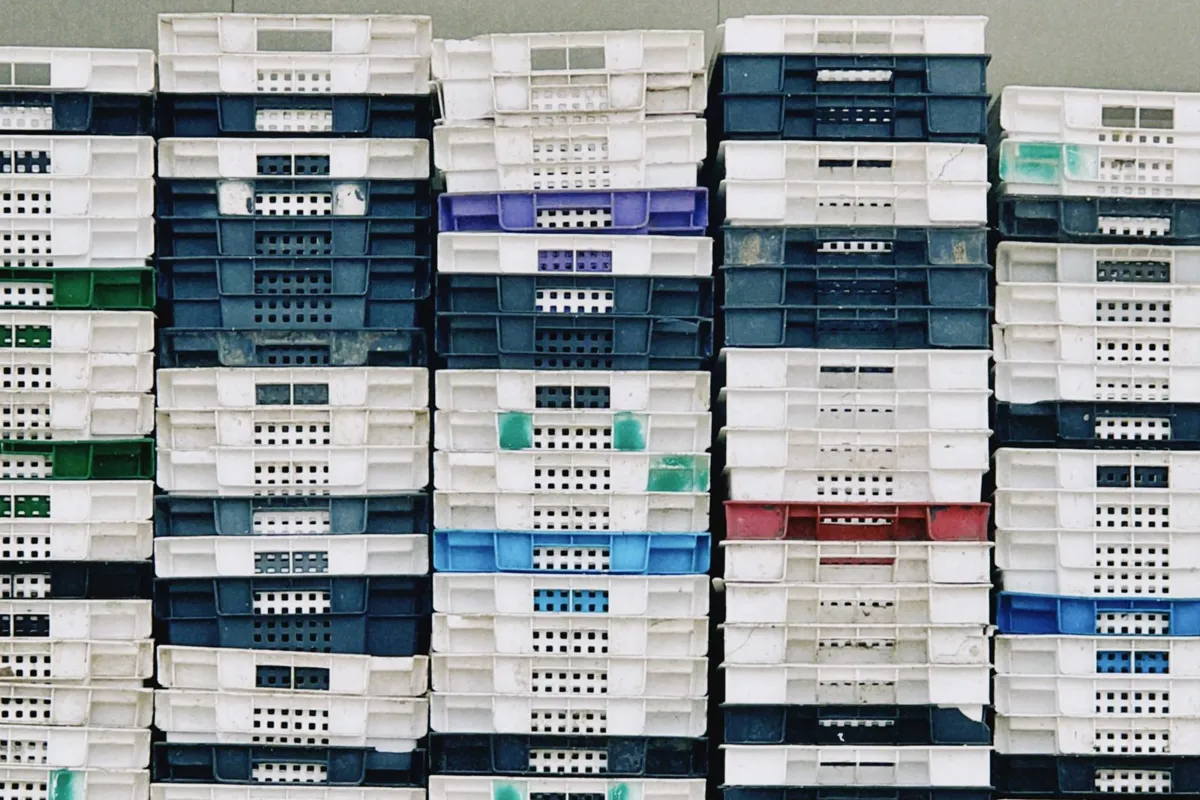
2. Six ways to separate stuck plastic bins, from gentle to forceful
The six methods below fall into three groups: breaking the vacuum (creating an air path, turning upside down and pressing the base), using heat (hot water, hair dryer) and reducing friction (lubricant, twist and pull). The table helps you choose quickly by the tools you have; the detailed sections below keep the same numbering as the table.
| Method | Group | Tools | Best when |
|---|---|---|---|
| 1. Hot water | Heat | Hot water at 60 - 70 °C, a large basin | Small and medium bins and buckets |
| 2. Hair dryer | Heat | Hair dryer | No basin large enough to soak in |
| 3. Create an air path | Break the vacuum | Thin plastic ruler | Bins stuck by vacuum suction |
| 4. Lubricant | Reduce friction | Dish soap, cooking oil | Bins stuck by friction, wedged tight at the walls |
| 5. Twist while pulling | Reduce friction | Two people | Large, heavy bins |
| 6. Turn upside down, press the base | Break the vacuum | Flat floor | Large, rigid bins |
Method 1: Soak in hot water so the outer bin expands
This is the most effective method for small and medium buckets and bins because it acts on both causes at once: the air pocket between the bases warms so its pressure rises again, and the outer bin expands slightly.
- Fill the inner bin with cold water to keep it from expanding.
- Place both bins in a large basin or sink and pour hot water at about 60-70 °C around the outer bin.
- Wait 5-10 minutes for the heat to work, then hold the outer bin, twist gently and pull the inner bin out.
The effect of this method comes from the two bins expanding differently. The thermal expansion table on Wikipedia gives PP about 150 x 10⁻⁶ per degree C; some other material tables give isotropic PP lower, about 80-100 x 10⁻⁶, while HDPE is at 100-200 x 10⁻⁶. Using that range, the rim of a bin 30 cm in diameter warmed by 40 °C widens by about 1-1.8 mm, while the inner bin, held by cold water, keeps its size. A gap that size is enough for air to get down and break the grip.
Method 2: Warm the rim of the outer bin with a hair dryer
A hair dryer substitutes for hot water when you do not have a basin large enough to soak in; the principle is the same, to make the outer bin expand. Warm evenly and continuously around the rim of the outer bin at the stuck spot for about 1-2 minutes, holding the dryer a hand’s width from the wall and not staying long at one point because thin plastic can distort locally. While the bin is still warm, slide a ruler into the gap or twist and pull straight away; if it cools you have to start over.
Method 3: Create an air path with a plastic ruler
This method attacks the root cause, the pressure difference, and needs no preparation, so I recommend trying it first. Slowly slide the end of a thin plastic ruler into the gap between the two bin walls, pushing gradually down toward the base. When you hear a small hiss, air has got in, and a gentle pull is then enough to separate the two bins.
For large waste bins and drums where the ruler cannot reach the bottom, use a hose with a gentle flow, slide the end of the hose into the gap between the two bins and let the water run gradually down to the base of the lower bin. The wikiHow guide explains that water cannot be compressed, so when it fills the base it pushes the upper bin up evenly; while you wait, gently squeeze the rim of the outer bin so the water goes down faster.
Method 4: Lubricate with soapy water or cooking oil
A lubricant reduces friction between the two walls and suits bins that have been pressed tight or mesh-walled bins that have jammed. Tilt the two bins, let a concentrated dish soap mixed with a little water (or cooking oil) run into the gap around the rim, twist the two bins back and forth so the lubricant spreads, then hold the lower bin and pull the upper one out. I prefer dish soap because it rinses off easily; cooking oil lingers on plastic walls, picks up dust and is harder to clean, especially on bins that hold food.
Method 5: Two people twisting while pulling
Twisting force breaks stuck contact points far more effectively than a straight pull, so for large, heavy bins use two people. One person grips and holds the outer bin still, standing level with the other; the other holds the rim of the inner bin firmly and pulls up while twisting steadily in one direction. Do not jerk in hard pulls, because the rim is the thinnest part and cracks most easily when pulled off to one side. If the rim has already cracked, see how to repair a cracked plastic bin before throwing the bin away.
Method 6: Turn upside down and press gently on the base of the outer bin
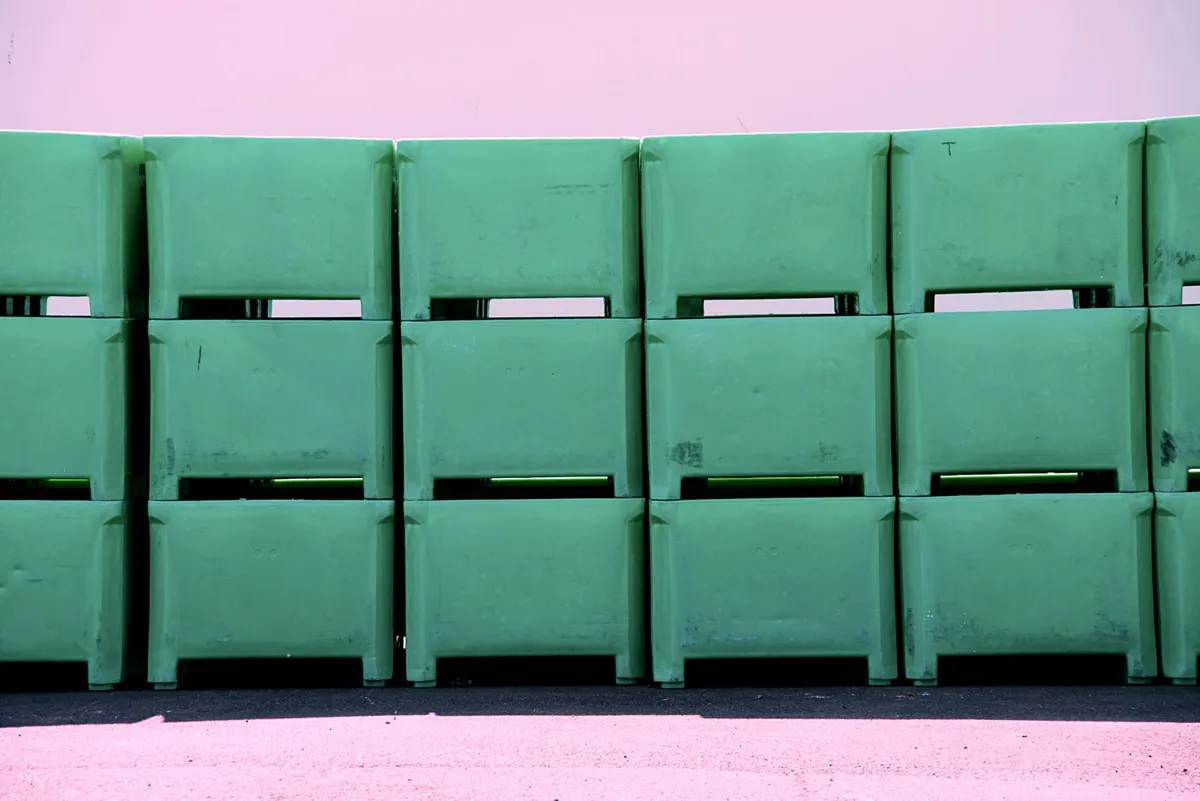
This trick uses the weight of the two bins and a gentle press so that the outer bin wall deforms slightly, enough to open a gap for air to get in. It suits large, rigid-walled bins best.
- Turn the two stuck bins upside down onto a hard, flat floor.
- Use both hands to press gently and evenly on the base of the outer bin, which is now facing up.
- Press while twisting slightly; if you are alone, you can step on the edge of the lower bin to hold it and work the upper bin up gradually.
3. Bins with wheels, food bins and bins that once held chemicals
These three types of bin need their own approach: a bin with wheels needs the snagged wheel freed first, a food bin should be handled with clean water and soap rather than cooking oil, and a bin that once held chemicals must not be soaked in hot water.
Waste bins and storage bins with wheels often jam at the axle and wheels of the upper bin pressing against the base of the lower bin, not just at the walls. Apply dilute soapy water around the wheels and the gap, then tap gently with a rubber mallet around the wheel area to create a pushing force; do not hit with a steel hammer.
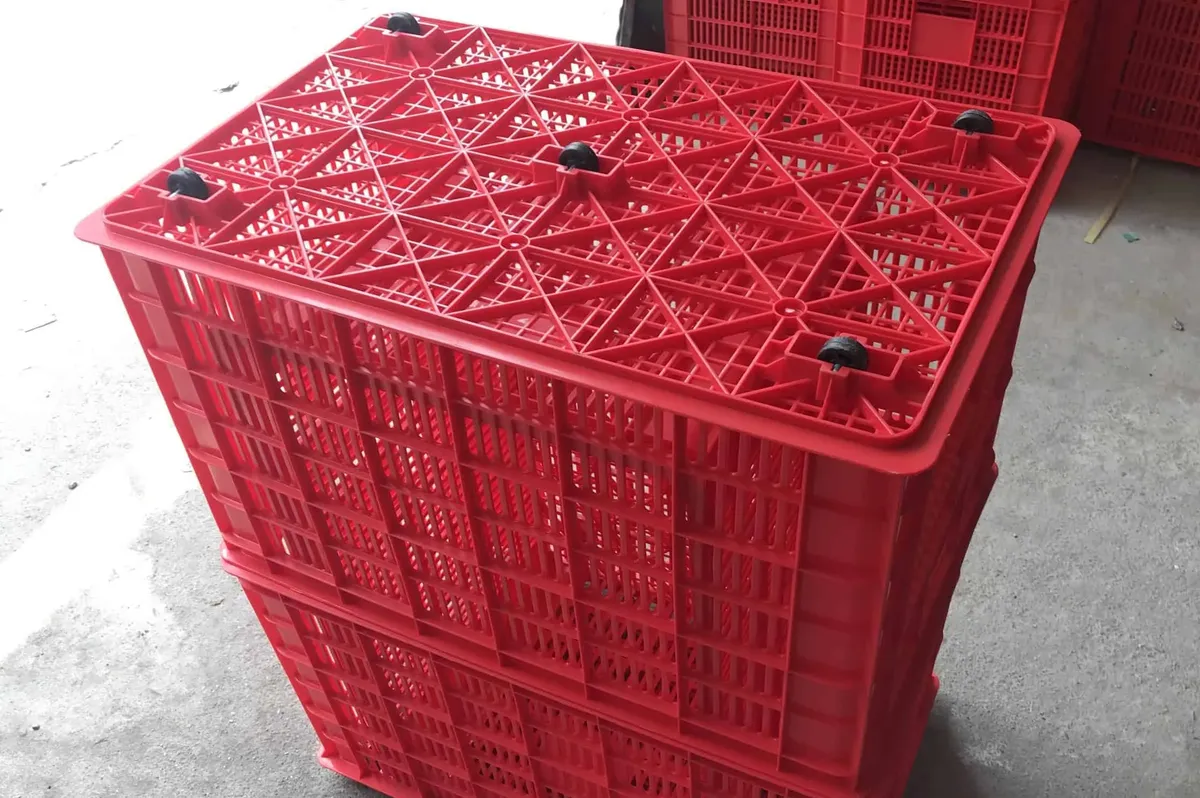
For bins and crates used for vegetables, fruit, seafood or prepared food, I avoid cooking oil because the oil left behind collects dust, can smell and must be washed off thoroughly. Prefer creating an air path, warm water or dish soap, and after separating, wash and dry both bins completely before using them again.
4. How to stack plastic bins so they do not stick again
To keep bins from sticking, wipe them dry before stacking, place them gently without pressing hard, put a thin object between the two rims, and for a warehouse that must store many empty bins choose collapsible bins or stackable bins that do not nest.
Wipe bins dry before nesting them
Stacking bins while wet is the most common cause. The thin film of water on the walls works like a gasket, sealing the gap and stopping air from entering between the two bases, so a drop in temperature overnight is enough for the bins to grip each other. After washing, turn the bin upside down to drain and let it dry completely before nesting.
Place gently and put a thin object between the two rims
Do not use force to press the upper bin into the lower one; just set it down gently and let it nest by itself, and do not stack heavy bins or leave heavy objects on a stack of nested bins for a long time. For long-term storage, lay a piece of string or a thin strip of card across the rim of the lower bin before setting the upper bin in. This small object keeps a tiny gap for air to flow, enough to stop any suction forming.
Choose bins that do not nest for the warehouse
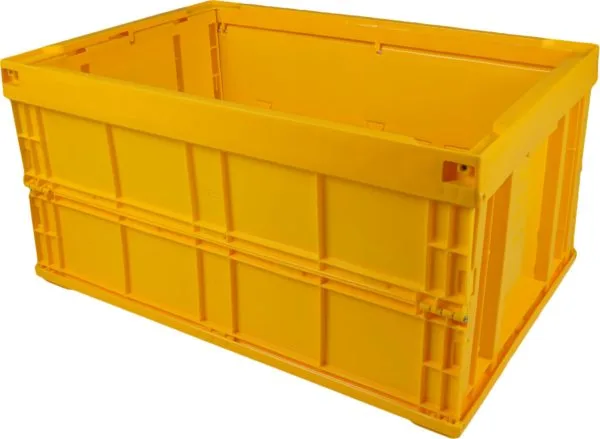
For a warehouse with many empty bins to store, the thorough approach is to use bins that do not nest deeply. Collapsible plastic bins fold flat into a panel when empty; stackable bins sit on each other by the base and rim ridges; and nesting-and-stacking crates usually have a rotatable design to choose between stacking when loaded and nesting when empty. None of the three leaves a sealed air pocket between two bases the way tapered buckets and tubs do.
Frequently asked questions
Why do two stacked plastic bins stick so tightly?
There are usually two causes at once. Air trapped between the two bases cools and its pressure drops, and the atmospheric pressure outside presses the two bins together; at the same time the tapered walls press against each other and a thin film of water seals the gap, so both suction and friction hold the bins.
Should I use a screwdriver or a metal pointed object to pry them apart?
No. Screwdrivers, knives and scissors slip easily, scratch, puncture or crack the bin rim and cause injuries. Use a plastic ruler, an old plastic card or a flat bamboo stick with a rounded end.
Why should boiling water not be poured directly onto a plastic bin?
Boiling water at 100 °C can soften thin plastic walls and deform them permanently, and it can easily cause burns. Hot water at about 60-70 °C from a tap or a water heater is enough to expand the outer bin.
Does separating stuck plastic bins damage them?
No, if you use moderate heat, create an air path and twist steadily. Bins usually get damaged when pried with metal objects, doused with boiling water or yanked hard so the rim cracks.
Can these methods be used for buckets, tubs and plastic boxes that stick together?
Yes. The principles of using heat, equalising pressure and lubricating apply to most plastic items with tapered walls that nest inside one another, from buckets and tubs to food containers.
How do I separate stuck plastic bins that once held chemicals?
Wear gloves and prefer creating an air path with a plastic ruler, then twist and pull; avoid soaking in hot water or using cooking oil because they can vaporise or wash chemical residue out. The wash water afterwards must be collected and treated, not poured down the drain.
Contact us about plastic bins
ICD VIETNAM INDUSTRIAL MANUFACTURING CO., LTD
If your warehouse regularly stores many empty bins, send us the size of your goods and the warehouse space so we can advise on a suitable collapsible or stackable bin; ICD Vietnam plastic bins carry a 12-month warranty, price: contact for a quote.
- Northern Vietnam hotline: 0983 797 186 / 090 345 9186 / 090 5859 186.
- Southern Vietnam: 098 6784 186.
- Email: sales@icdvietnam.com.vn.
- Zalo: Chat with ICD Vietnam on Zalo.
References
- wikiHow, How to Separate Stuck Trash Barrels: using water and dish soap to separate stuck plastic waste bins.
- Wikipedia, Thermal expansion: table of linear expansion coefficients, polypropylene 150 x 10⁻⁶/K.
- MatMake, Thermal Expansion of Polymers and Plastics: expansion coefficients of PP and HDPE by grade.
- Gay-Lussac’s law on the relation between gas pressure and temperature at constant volume.